Alas, I don’t have the pics I’d planned on including; hopefully you can get the idea from my semi-coherent ramblings:
Regrip Golf Clubs
Tools:
Grips. Probably the biggest expense. It helps to buy in bulk and it never hurts to have some extras lying about for later!
Carpet knife. Hooked carpet knives are available in most big-box home improvement stores for a few dollars. You may substitute a utility knife.
2” grip tape
Grip solvent. Both tape and solvent are available at most golf shops or Amazon. Do yourself a favor, get plenty. Once you see how easy it is, you’ll want to regrip more often and possibly experiment!
Tape measure
Disposable aluminum baking pan
Golf tee
Rags
Grease pencil
Old square of carpet (to protect clubhead when grounding club)
Work in a well ventilated area that will not be harmed by solvents.
Remove old grip
Caution: if the shaft is graphite, take care not to nick or score the shaft! Graphite shafts can be dramatically weakened by scores or nicks. Steel shafts are usually immune to knife damage. For steel shafts, just rake the carpet knife down the shaft to cut the grip off, easy-peasy. For graphite, take more care. Use knife to make an incision starting at the tapered end of the grip almost to the depth of the shaft, approximately 2-3” in length. You should be able to split the grip and pull the grip back over itself and with luck, peel the grip all the way off. If the grip is stubborn, score the grip slightly all the way to the butt and try again. I’ve had particularly stubborn grips that required two scorings 90* apart and peel the grip off like a banana. Be patient, keep at it; it will come off. Remove any remaining old grip tape. I like to clean the bare shaft with a rag dampened with grip solvent. Set aside to dry.
Measure, Cut and Apply tape
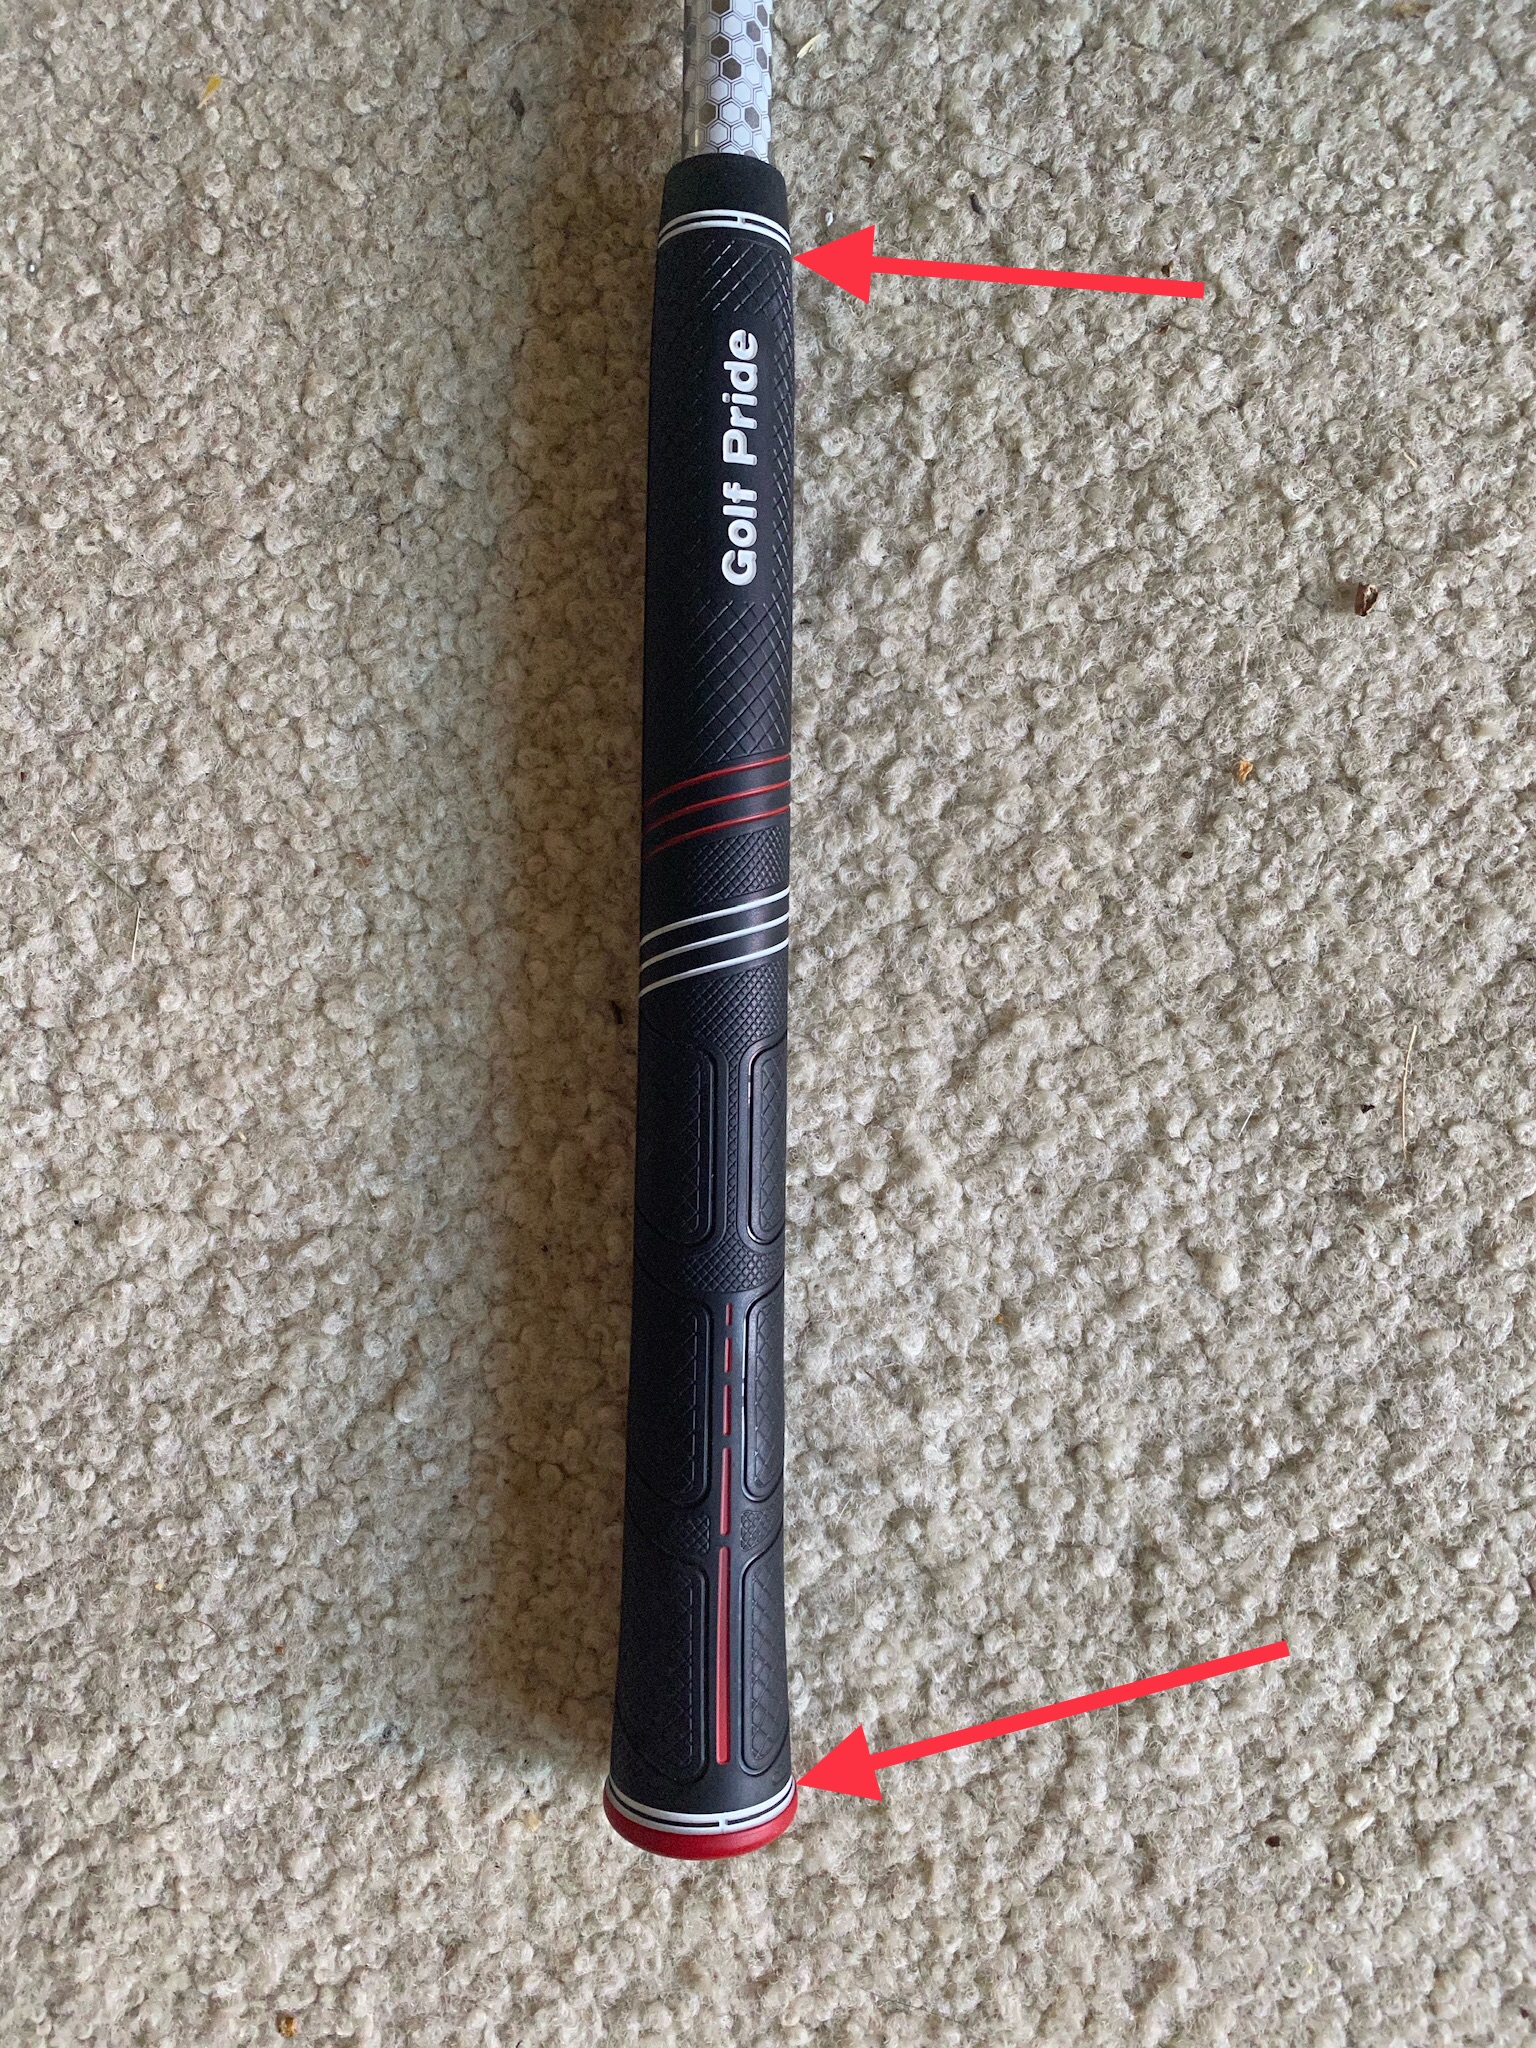
Measure your grip between arrows, as shown. There is typically a ring about 1/2” up from taper end and another about 1/2” down from the butt (this is typically the depth where the butt of the shaft bottoms out. You want to measure the distance between those rings (arrows). You don’t need to be super accurate; mine measure about 10”.
Measure up from the shaft butt the distance determined above and mark. If you are doing your whole set (and who wouldn’t!) you might consider marking your table or workbench.
Next, you’ll measure and cut your tape. You want to take the measurement determined above and add about 1 1/2”. Again, you might consider marking your table or workbench; make sure you label these marks to avoid confusion. Peel the tape from the roll to length and cut. Don’t fret if you cut it a bit long, you can trim later. Important: Leave the backing on the tape!
Now you’ll apply the tape to the shaft. I’m a bit OCD at this stage, so bear with me. The idea is to apply the tape lengthwise along the shaft with the 1 1/2” hanging over the shaft butt. Start with the club oriented toe up. Center the width of the tape along the shaft with the end of the tape at the mark you made earlier. Gently wrap one side only of the tape all the way around the shaft, ensuring no wrinkles or bubbles. Then gently wrap and smooth the other side of the tape around the shaft ‘til edges almost meet. Using the knife blade or your fingernail, gently peel back the tape backing and remove. Gently (dry fingers!) smooth the edges together; there will likely be a slight overlap.
Ok, full disclosure: early on I did a grip where the overlap ended up in the middle of my palm and not in the fingers. Maybe a bit Princess-and-the-Pea but I hated that club. Been a bit obsessive where the overlap is ever since.
Should you have excess of the 1 1/2” overhang, you can trim here. Pinch the 1 1/2” overhang and fold over the butt of the shaft. Neatness doesn’t matter!
It is at this point you might consider experimenting with wraps. If one wrap isn’t quite sufficient to achieve the diameter to your liking, add another layer of tape. Or more. Some folks like a less tapered grip; simply add another fist’s length of tape. Experiment and customize to your discerning tastes!
Install Grip
Ok, this next bit is like wok cooking, really goes fast so read thru a couple times and have everything to hand. Insert the golf tee in the vent hole in the butt of the grip to prevent the solvent leaking out. Squirt about a tablespoon or so of the solvent into the taper end of the grip. Cover the hole with a finger and thoroughly slosh the solvent inside the grip. Place the taped shaft over the disposable sheet pan and slowly (slowly!) pour solvent from grip onto the tape. The idea is to completely wet the tape. Remove the tee. If you forget, you’ll struggle to get the grip all the way on. Pinch the taper end of the grip over the butt of the shaft and firmly slide the grip all the way down. If it slides easily, say “Yeehaa” you did it right; if not apply more solvent.
Sole the club on the old square of carpet and adjust the alignment of the grip to match the club face. Take care here to ensure the grip is perfectly straight and perfectly aligned with the face; remember, you’ll be staring down at that grip for many rounds! Did I mention to take care here? Now that you’ve got it perfect, set it aside for at least 12hours to dry.
That’s it! Only 12 to go…
Hope this helps! Please don’t hesitate to contact me if I’ve been unclear or if you have questions. Enjoy!